Secure email, Mozilla secure email SSL configuration

Secure email, Mozilla secure email SSL configuration |
| Secure Email Home | Secure Email Configuration Home |
|
|
|
Secure Email Configuration Mozilla SSL Email Secure Domain Email Customers: If your secure email account with us uses a domain name other than 4securemail.com, simply use your domain instead of 4securemail.com wherever it appears in the instructions or the examples given. If you have purchased your own IP address & certificate, you may substitute any reference of mail.4securemail.com with your mail host name, e.g. mail.yourdomain.com.
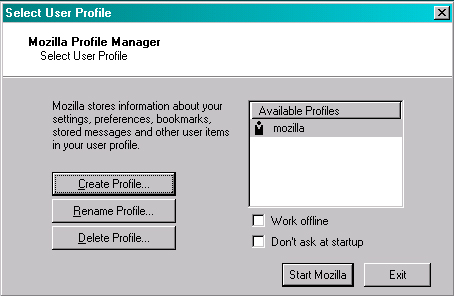
Overview This document will help you to configure your compatible Mozilla Secure Email Account client to work with the mail.4securemail.com Secure Email Hosting system. Compatible Mozilla Mail version: 1.7.3 For Mozilla IMAP configuration documentation, please click here. Step 1: Open Mozilla When you open Mozilla Mail, you may receive a message similar to the below screenshot asking you to select a user profile.
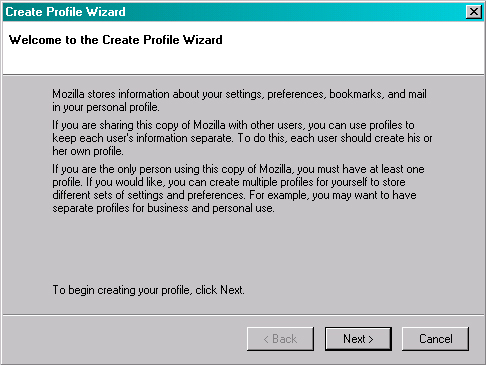
Step 2: Create Profile Wizard
Step 3: Create Profile Wizard (2)
Step 4: Start Mozilla
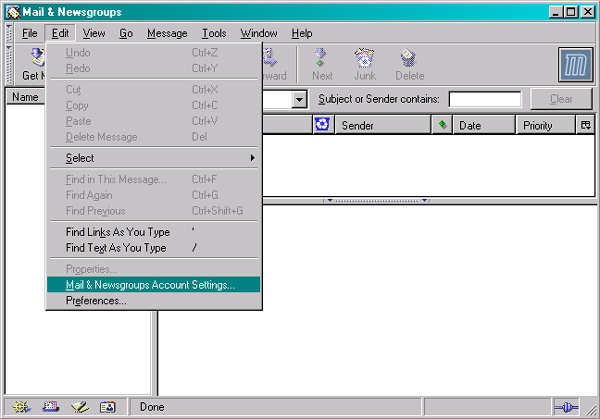
Step 5: Mail & Newsgroups Account Settings
Step 6: Add your Secure Email Account
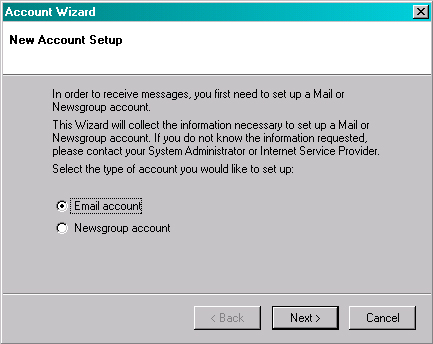
Step 7: New Account Wizard (1)
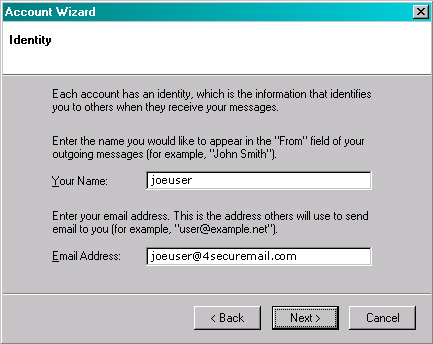
Step 8: New Account Wizard (2)
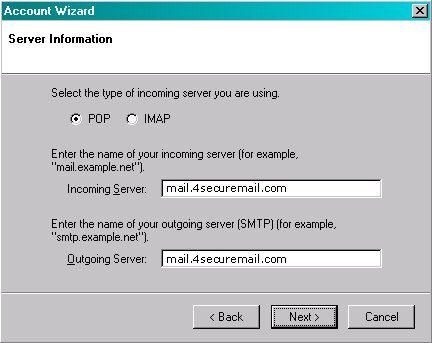
Step 9: New Account Wizard (3)
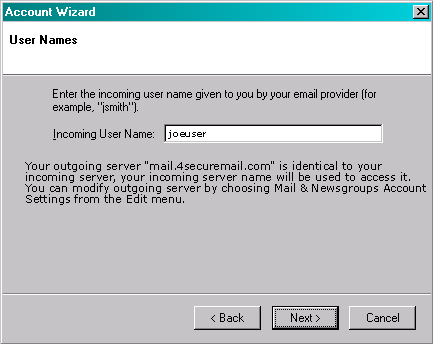
Step 10: New Account Wizard (4)
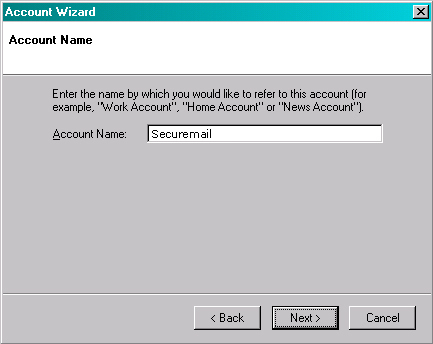
Step 11: New Account Wizard (5)
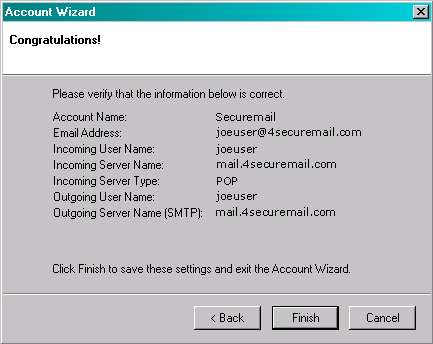
Step 12: New Account Wizard (6)
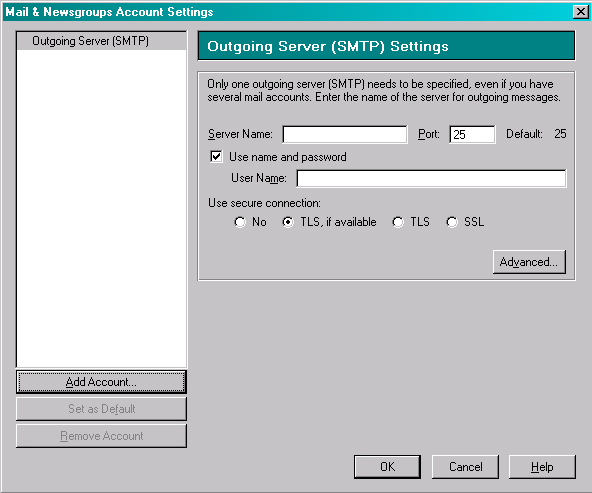
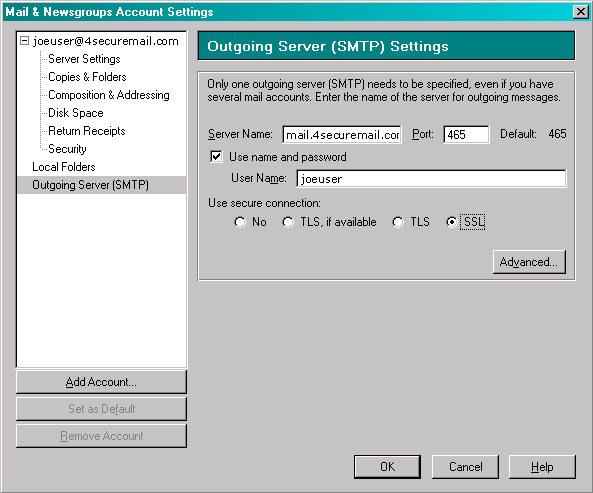
Step 13: Outgoing Settings Configuration
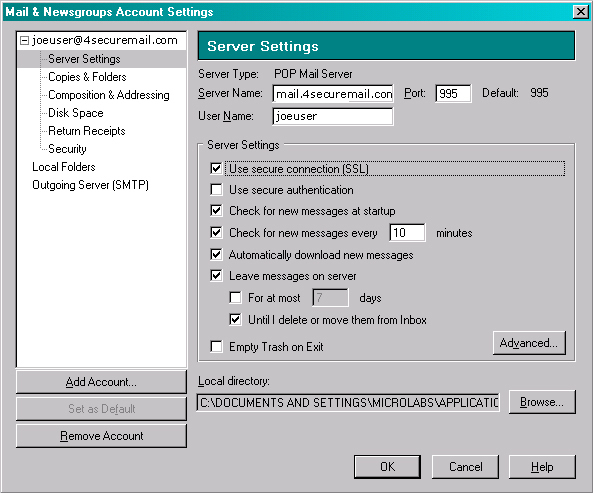
Step 14: Incoming Server Configuration
Manufacturer Technical Support For technical support from Mozilla, please visit https://www.mozilla.org/support/. For Further Assistance |
|
|
| Secure Email Home | Secure Email Configuration Home |